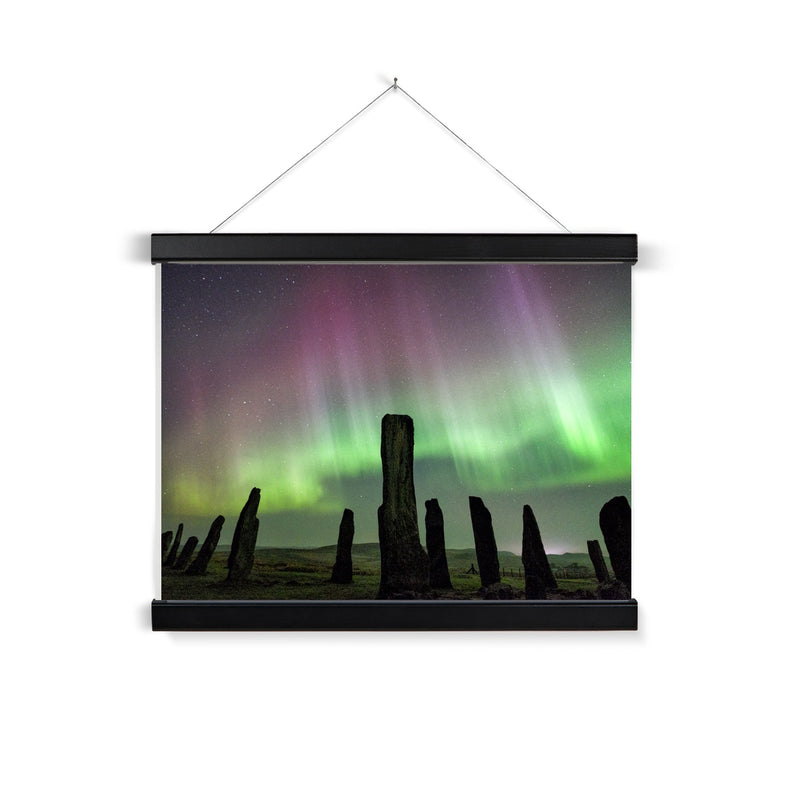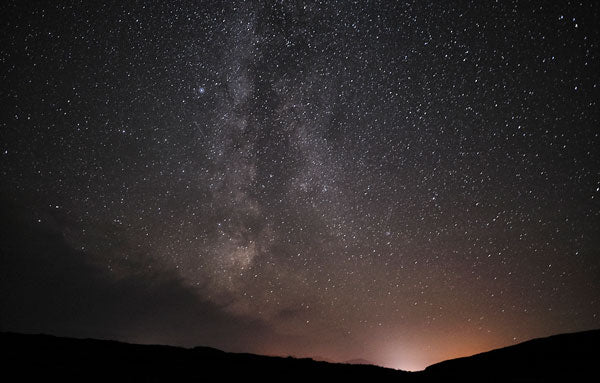
Many people are mesmerised by the night sky. There’s nothing quite like gazing upon objects that are billions of years old and light-years away, yet still so present in our daily lives. Fortunately, advancements in technology have made it possible for photographers to capture the beauty of the night sky, and stunning natural phenomena like the Milky Way can now be preserved in high-quality photographic images for everyone to enjoy. If you’re interested in capturing the night sky, here’s a useful guide on how to photograph stars and the Milky Way.
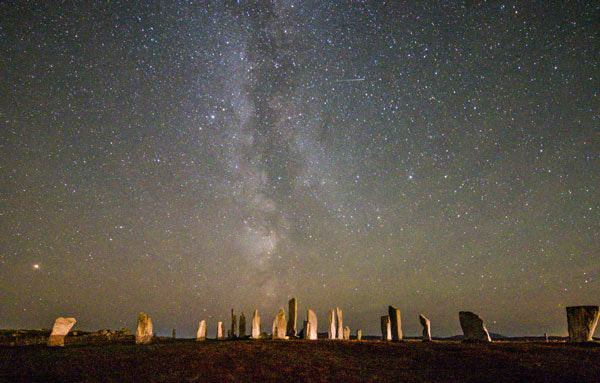
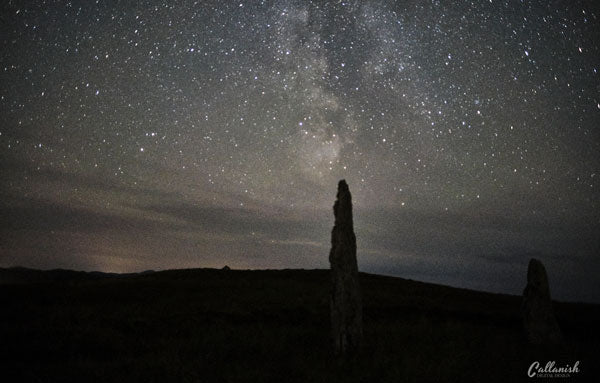
Find a remote, dark location
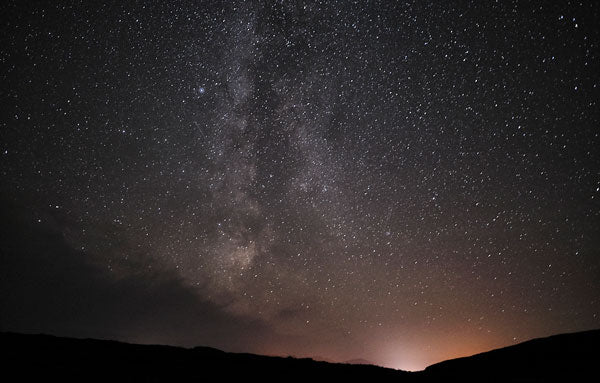
To take quality photographs of the stars, it’s crucial that you find a dark night sky that’s free from pollution. If there is a lot of light pollution then you’re unlikely to even see the Milky Way, never mind photograph it! For that reason, you may need to travel a fair distance outside of built-up areas to find a remote area that is not affected by city lights. It is important to keep in mind that the moon can also affect the quality of your photographs. Too much moonlight is likely to wash out your photographs and significantly reduce visibility. It is therefore important that you check the moon cycle and always try to plan your shooting during or near a new moon.
Choose the right time of year
The Milky Way is only visible during certain times of the year and what you’re able to see is also affected by your location. For instance, if you’re based in Scotland then the best time to view and shoot the Milky Way is during the summer months. In the far north of Scotland it never gets truly dark in the summer months. However, we get a brief spell in August to October when the core is visible. The Milky Way is nearly impossible to see at this location during the winter months. It is therefore vital that you do research to determine the best time to view and photograph the Milky Way in your specific location. Fortunately, there are many useful sky apps and online tools available to help you plan your shoot - the iPhone app called Sky View is extremely popular with nightscape photographers.
Purchase a quality camera
Shooting conditions at night can be challenging as there is very little available light. Capturing impressive shots of the night sky takes both quality equipment and experience. For that reason, it’s worth investing in a professional digital camera with high ISO capabilities. Ideally, you want a camera that features full manual exposure control of shutter speed, ISO and aperture.
Use a long shutter speed
Choosing a long shutter speed will allow you to capture more light and create a significantly bright exposure. However, it’s important to be aware that if you leave your shutter open for too long, then you risk ending up with long star trails, which is not ideal when photographing the Milky Way. The 500 Rule calculates the longest exposure time possible for Milky Way photography without capturing movement in the stars. Under this rule, you divide 500 by the focal length of the lens you’re using. This number determines the maximum exposure length before the stars start trailing. It is also advisable to invest in a quality tripod if you’re hoping to take decent night sky photographs. This will help ensure that your camera remains stable during the long exposure time, thus reducing the likelihood of your photographs appearing blurry. A remote release helps reduce movement further as just the movement of pressing and releasing the shutter button can cause unwanted blur/movement.
Final insights
Learning to photograph the night sky and capturing incredible shots of the stars and the Milky Way, is highly rewarding for many photographers. Fortunately, the advancements in photography equipment mean that most photographers now have the opportunity to capture the beauty of the night sky. There is also a huge variety of excellent online resources offering valuable guidance and tips on how to take extraordinary photographs of the night sky and get the most from your shooting sessions.


